Grinder Cleaning & Maintenance Guide
Step-by-step instructions for keeping your grinder in perfect condition.
A clean grinder performs better and lasts longer. This guide covers everything from quick maintenance to deep cleaning.
When to Clean Your Grinder
Look for these signs:
- Grinding feels sticky or difficult
- Visible residue buildup on teeth
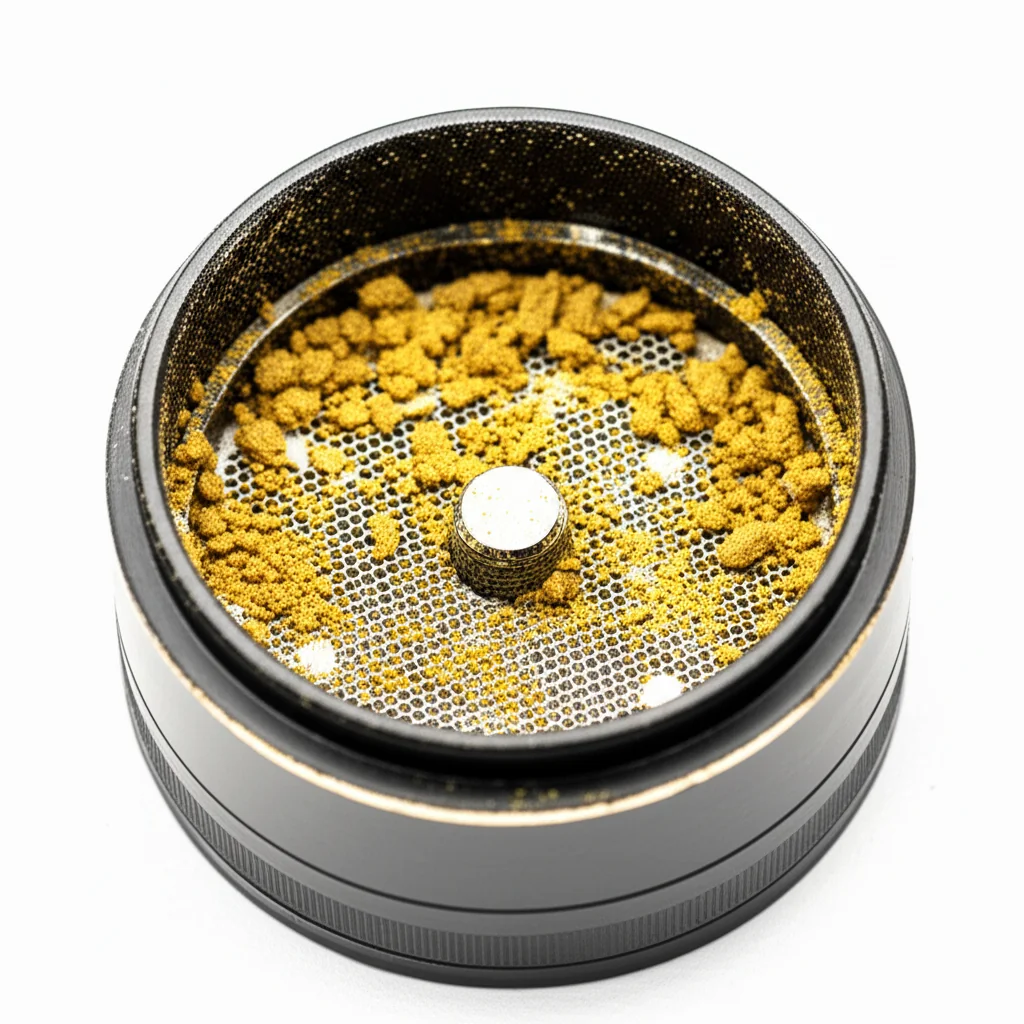
- Clogged kief screen
- Threads are hard to turn
- Decreased grinding efficiency
Recommended schedule: Light maintenance after each use, deep clean monthly.
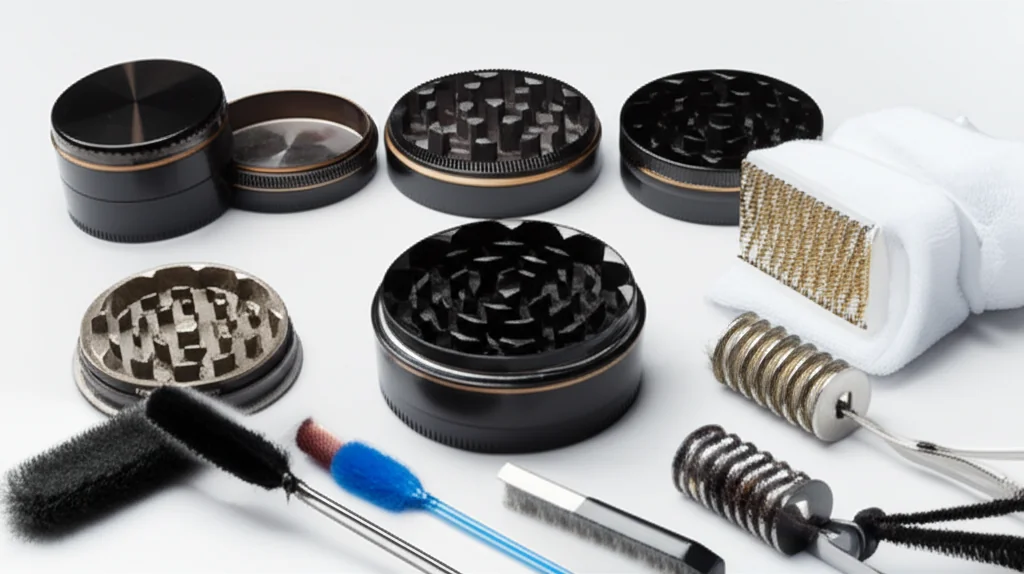
What You'll Need
- Isopropyl alcohol (90%+ concentration)
- Small brush or old toothbrush
- Toothpicks
- Paper towels or clean cloth
- Small container for soaking
- Freezer access (optional but recommended)
Quick Cleaning (After Each Use)
- Tap grinder over a clean surface to remove loose material
- Brush teeth gently to remove debris
- Wipe exterior with dry cloth
Takes 30 seconds and prevents major buildup.
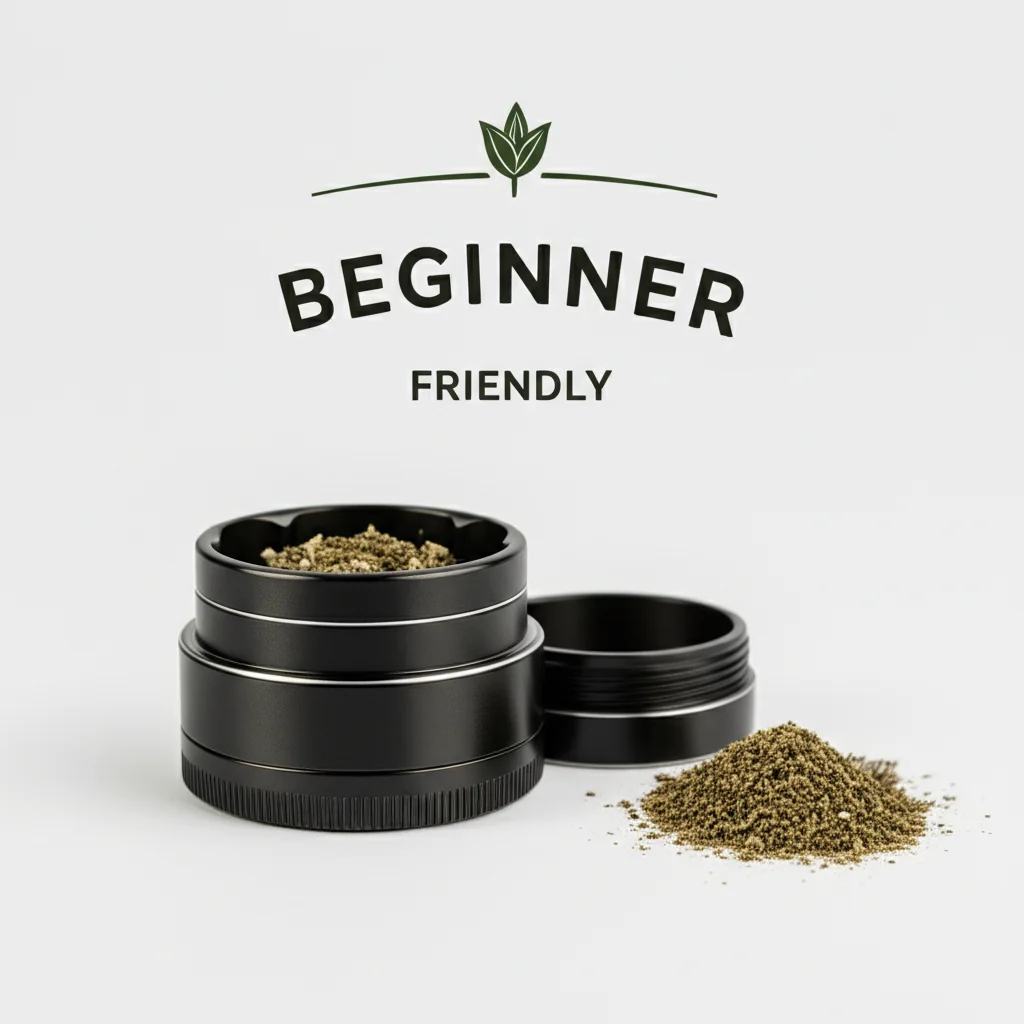
Deep Cleaning Process
Step 1: Disassemble
Separate all pieces of your grinder. For a 4-piece: lid, grinding chamber, collection chamber, kief catcher.
Step 2: Freeze (Optional but Recommended)
Place disassembled grinder in freezer for 30 minutes. This makes residue brittle and easier to remove. Bonus: you'll recover extra kief!
Step 3: Dry Brush
After freezing, tap each piece to knock loose material into a collection container. Brush all surfaces thoroughly:
- Between and around teeth
- Thread grooves
- Screen mesh (both sides)
- Chamber walls and corners
Step 4: Soak
Place metal parts only in isopropyl alcohol. Soak 20-30 minutes for regular cleaning, or overnight for heavy buildup.
Warning
Never soak acrylic, plastic, or wood parts in alcohol—it will damage them. Use warm soapy water instead.
Step 5: Scrub
After soaking, scrub each piece with your brush. Pay attention to:
- Tooth edges and gaps
- Screen holes (use toothpick)
- Thread grooves
- Any remaining sticky spots
Step 6: Rinse & Dry
Rinse with warm water to remove all alcohol. Dry thoroughly with cloth, then air dry completely before reassembling. Moisture can cause issues.
Unclogging Your Screen
- Freeze the screen section for 30 minutes
- Tap gently to knock loose material through
- Brush both sides with a stiff brush
- If still clogged, soak in alcohol
- Use a toothpick for stubborn spots (gently!)
Prevention Tips
- Don't overfill the grinder
- Grind drier material when possible
- Regular light maintenance prevents major buildup
- Store in a dry place
- Use quality grinders—they resist buildup better
When to Replace Your Grinder
Even well-maintained grinders eventually wear out:
- Teeth are noticeably dull
- Threads are stripped
- Screen is torn or permanently clogged
- Magnetic lid no longer holds
Time for an upgrade? Check our full collection or get custom weed grinders with your own design.
More Guides
Ready to Shop?
Browse our collection or get custom weed grinders with your branding.